
How to Send a Document for E-Signature in BreezeDoc
Send a BreezeDoc document for e-signature: click Send to signers, enter each signer's name and email, set the expiration date, and click Send for signature.
Prerequisites
- Document: an uploaded document with its fields placed for each signer (see How to Add Fields to a Document)
- Signers: a name and an email address for each signer
- Plan: any plan; the Free Plan sends 10 documents per month, the Individual Plan 20, the Agency Plan unlimited
Before You Send - Checklist
- Fields: every field is placed and belongs to the right signer (party)
- Required fields: the fields signers must fill in are switched to Required
- Document name: a clear name signers will recognize
- Email addresses: double-check each signer's address
How to Send a Document
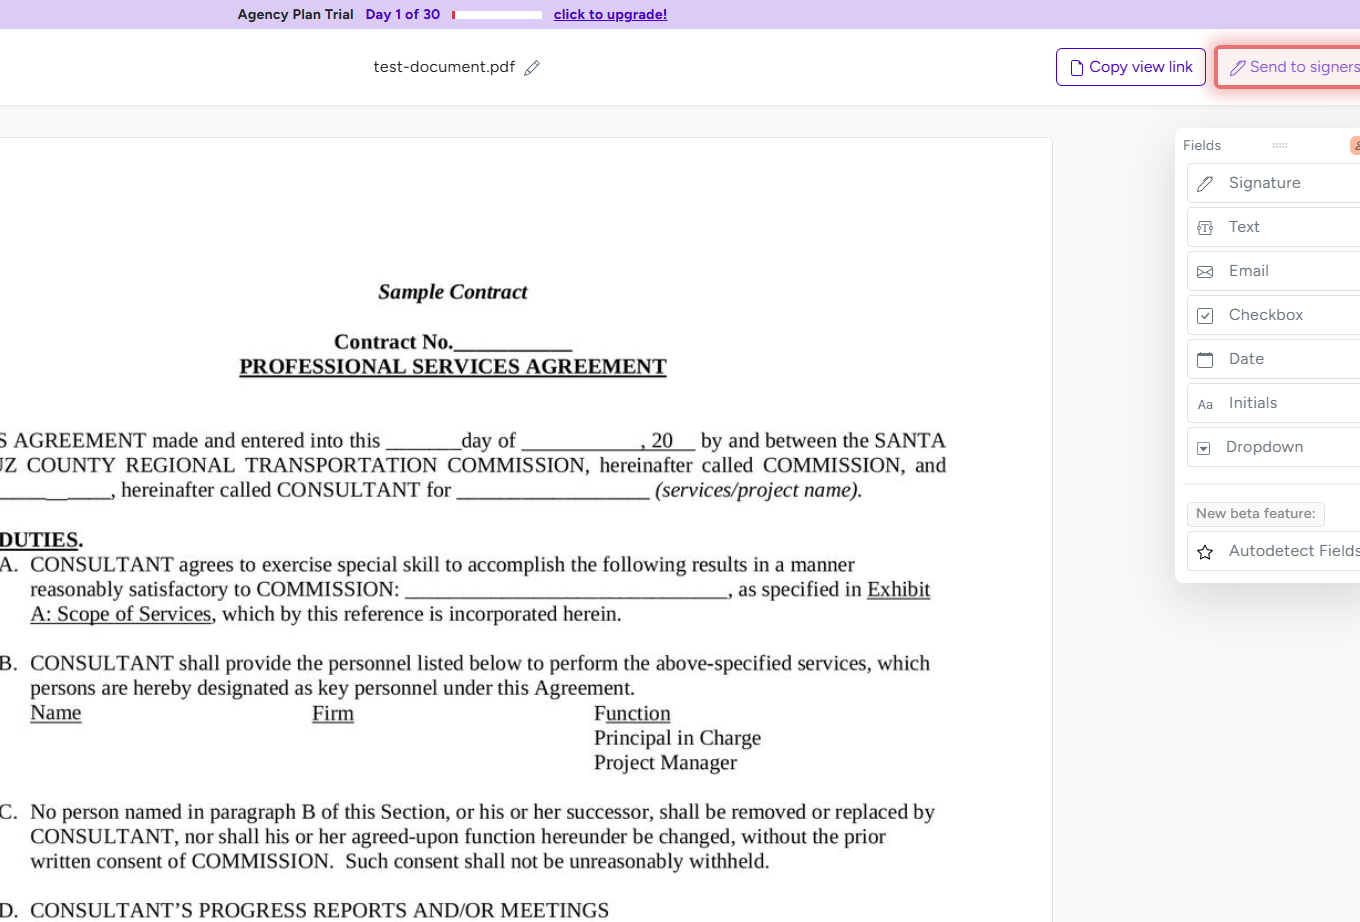
- Open your document in the editor.
- Click Send to signers in the top right, then choose Send via email.
- On the Send for Signature page, enter each signer's Name: and Email:. To require a passcode for a signer, click Add Security below their details, tick Require passcode to view, and enter the passcode - see How to Add a Passcode to a Document.
- Check the Document Expiration date. It is required and starts at 90 days from today.
- Optional settings: CC executed document, Customize email, Send reminders every three days (maximum 3), and Redirect after signing (see below).
- Click Send for signature.
What Happens Next
- The first signer receives an email with a Sign document button.
- Each following signer is emailed when the signer before them has signed.
- The document counts toward your monthly allowance (team documents do not).
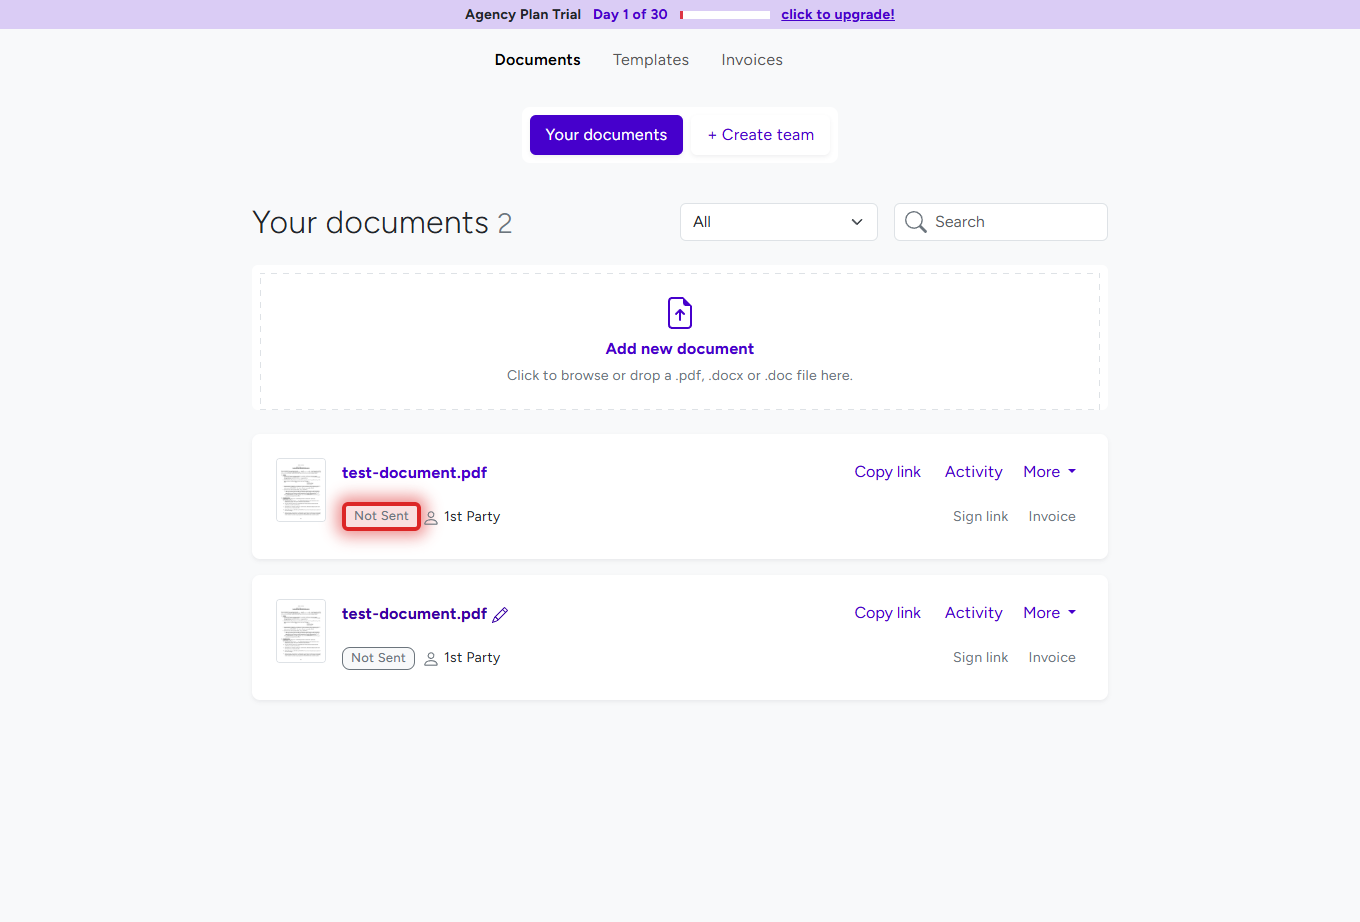
- Follow progress on the Documents page and on the document's Activity page.
- When everyone has signed, you, every signer, and every CC recipient receive the completed PDF by email.
Understanding the Signer Email
- Subject: "Your Name has sent you a document to sign" (or your own subject if you customize the email)
- Button: Sign document, which opens the signing page
- Replies: go to your email address
Customizing the Email (Individual and Agency Plans)
- On the Send for Signature page, tick Customize email.
- Write the Subject and Message. You can insert
{{account.name}},{{document.title}},{{recipient.email}}, and{{document.signing_link}}. - The custom email applies to this document. On a team document, the plan of the team's creator decides whether Customize email is available.
More in Customizing Document Emails.
Signing Order
How the Signing Order Works
Signers sign in party order: the 1st party first, then the 2nd, and so on. Only the first signer is emailed when you send. Each following signer is emailed as soon as the previous signer finishes.
Things to Know
- The order follows the parties you set up in the editor.
- If you share a later signer's Sign link yourself, they can open it before their turn.
- More on signing order in Multi-Party Signing.
Sending to Multiple People
Signers and CC Recipients
- Signers fill in their fields and sign.
- CC recipients get copies but do not sign - tick CC executed document, enter a name and email, and click Add CC for more. See CC Recipients.
Sharing Signing Links Yourself
How to Get Signing Links
- Instead of email: in the editor, click Send to signers → Generate links. The Sign links page shows a Sign link: for each party with a Copy link button. Generating links counts as sending the document.
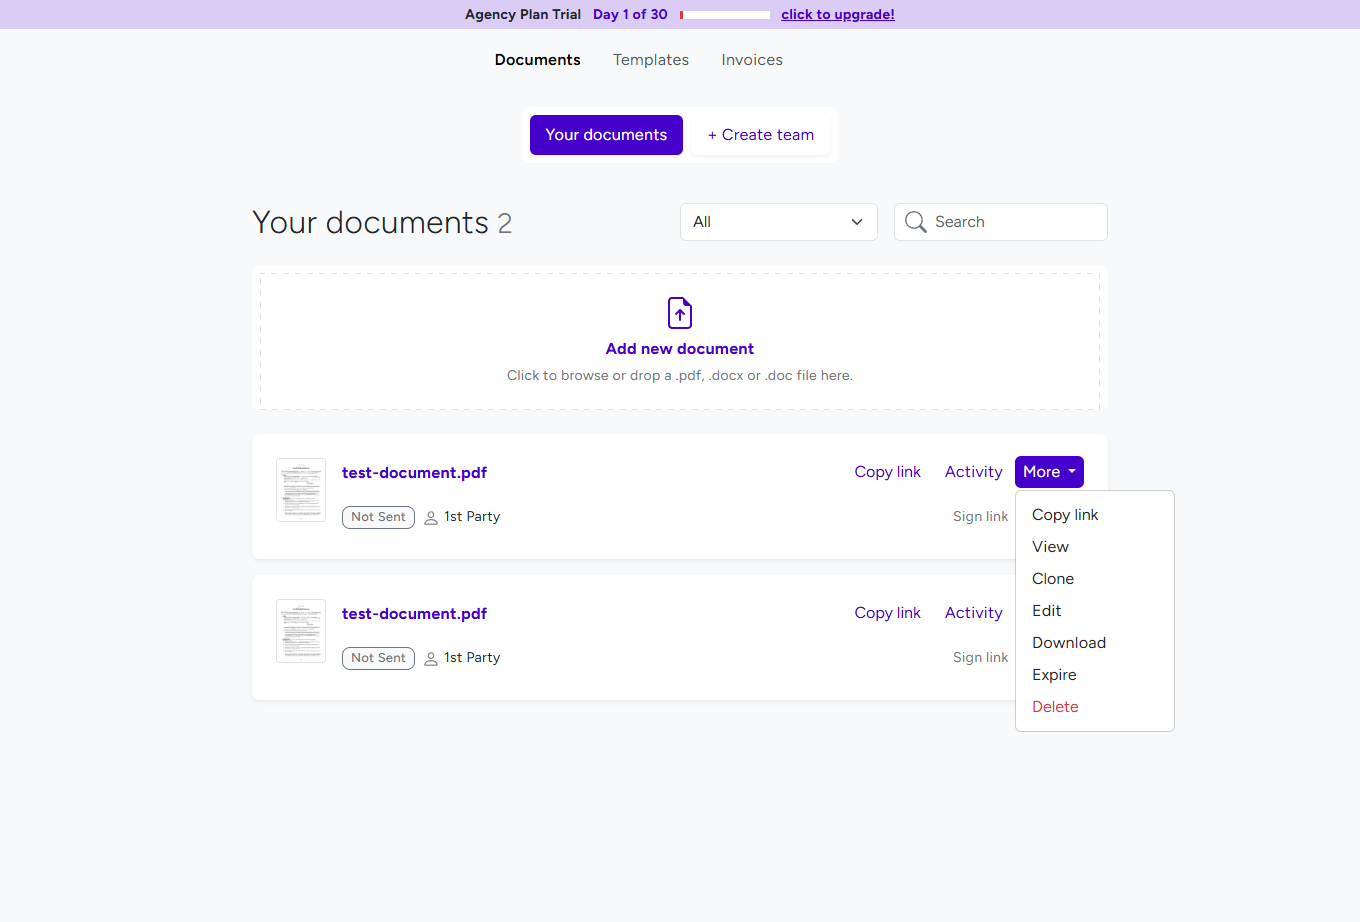
- After sending: on the Documents page, click Sign link next to a signer's name.
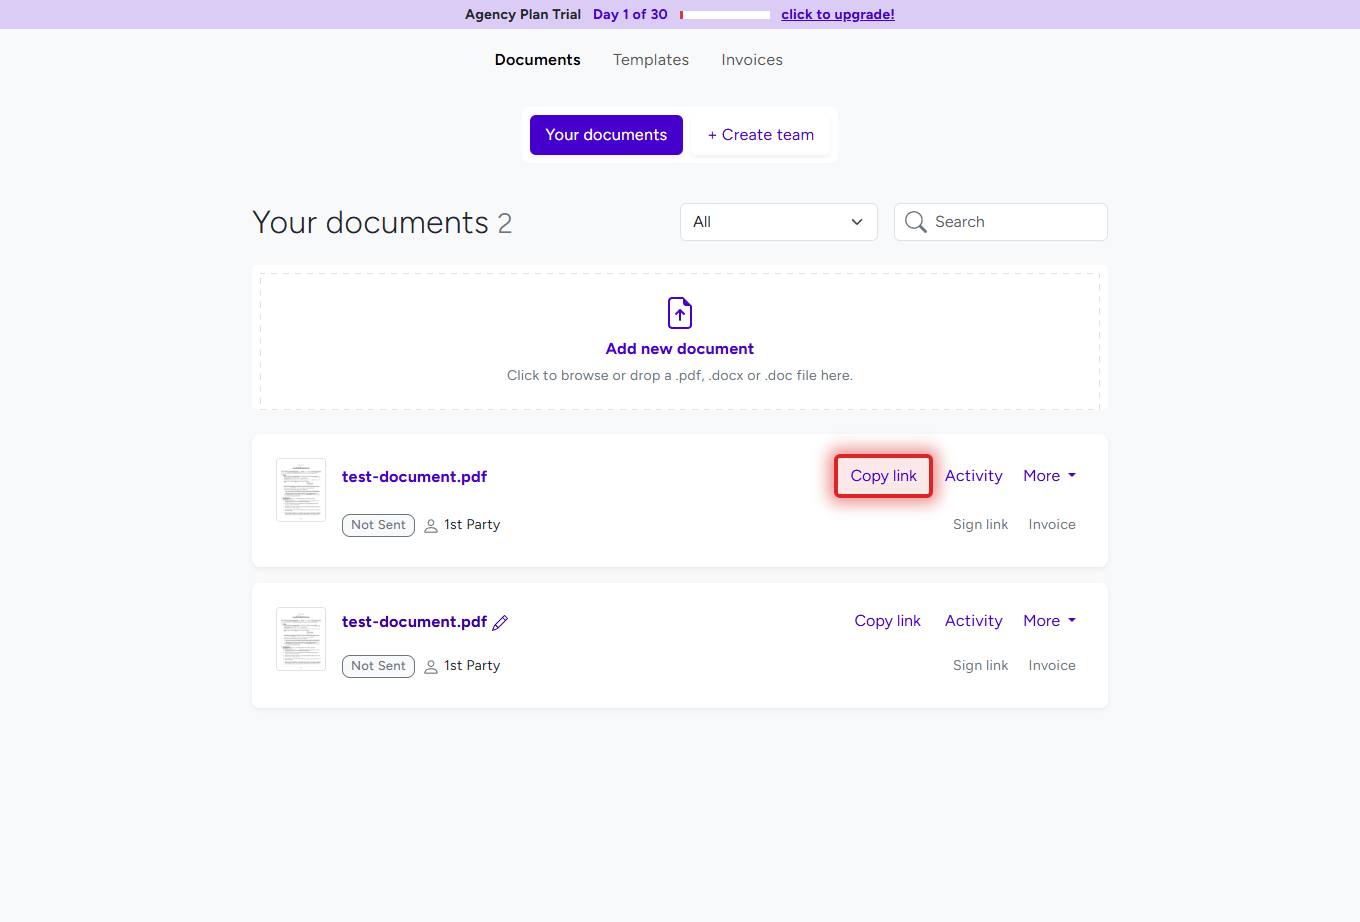
Note: Copy link on the Documents page copies the document's view link, not a signing link. Use Sign link for a signer, and never share one signer's link with someone else.
Automatic Reminders (Individual and Agency Plans)
How Automatic Reminders Work
- Tick Send reminders every three days (maximum 3) on the Send for Signature page.
- Signers who have not signed get a reminder about every three days, up to 3 reminders each.
- Reminders stop when the signer signs. The interval cannot be changed.
Sending the Email Again
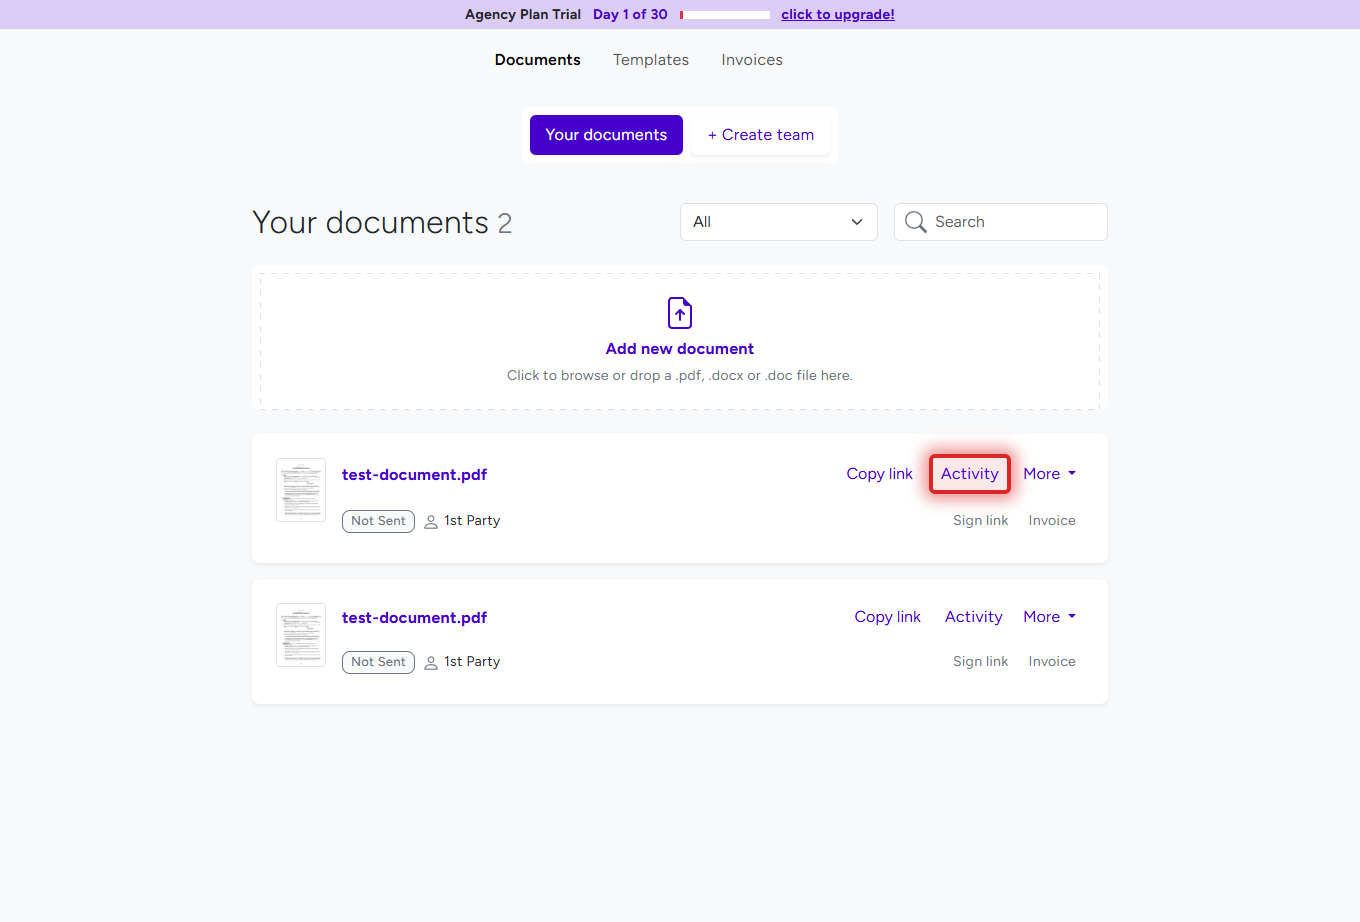
On any plan, click Resend next to the signer's name on the Documents page. Click Activity to see whether the signer has viewed or signed the document.
Document Expiration
Setting the Expiration Date
- Every document has an expiration date, set in Document Expiration on the Send for Signature page (90 days from today unless you change it). The link works until the end of that day.
- Signers who have not signed get a reminder 3 days before the document expires.
- To change the date later, open Send to signers → Generate links in the editor, change Document expiration:, and click Update.
After Expiration
- The signing link shows Document Expired and your email address.
- The Documents page shows "Document expired on …" and "You can clone it and resend it".
- To end signing early, open the document's More menu and click Expire. All parties lose access immediately. See Document Expiration: Set, Change or End a Signing Deadline.
Redirect After Signing (Individual and Agency Plans)
How to Set Up a Redirect
- On the Send for Signature page, tick Redirect after signing.
- Enter the full address in Redirect URL:, for example
https://yoursite.com/thank-you. - Signers are sent to that page after they finish signing.
Common Uses
- A thank-you page with next steps
- An onboarding portal
- A survey or feedback form
- A payment or checkout page
Troubleshooting
A signer did not receive the email
- Check the email address for typos and ask the signer to check spam or junk.
- Click Resend next to their name on the Documents page, or send them their Sign link yourself.
I cannot send the document
- Enter a Name: and Email: for every signer, and a Document Expiration date.
- If the page says you have reached the maximum number of sent documents this month, see How to Upgrade Your BreezeDoc Plan.
I sent the wrong version
- Until everyone has signed, you can open the document with More → Edit.
- To start over cleanly, click More → Expire so the old links stop working, then fix the document, or clone it and send the copy.
Still stuck? Email support@breezedoc.com.
Frequently Asked Questions
Can I edit a document after sending it?
Yes, until everyone has signed: open the More menu on the Documents page and click Edit. A completed document cannot be edited - clone it to make an editable copy.
How long does a signer have to sign?
Until the document's expiration date: 90 days from sending unless you choose another date.
Can I send the same document to several people separately?
Yes. Clone the document once per person (More → Clone) and send each copy.
What if a signer loses the email?
Click Resend next to their name on the Documents page, or copy their Sign link and send it yourself.
Need more help? Contact our support team at support@breezedoc.com - we are here to help!